It’s almost the end of March and spring is in the air. However, this year there is a poignancy to spring and its promise of new beginnings - my mum died last year in the very darkest part of the winter, and as beautiful as spring feels, it’s also the first spring without her.
It feels like a lot is changing; another example being that in just a couple of months my daugher will have finished her exams – and finished school. How have I got to the point that I will have no school-age children? It’s the end of an era for me.
Endings are difficult, but with each ending comes a fresh start.
Change is the only Constant
This truism was assigned to the Ancient Greek philosopher Heraclitus of Ephesus. But like all good truisms, there’s more to it than meets the eye. When we’re young, the routines and rules of childhood are a way of making us feel that the world is a regular, non-chaotic place, where life is predictable.
As we grow up we realise (hopefully gradually) that this is not the case. Life is not regular, predictable or safe. Change can happen suddenly, or gradually. But the only thing we can be certain of is that, eventually, everything changes.
It’s how we deal with this inevitable change that determines our resilience and happiness.
Why do we resist Change?
There’s a reason why we have comfort food and comfort zones -they’re ‘comfortably’ familiar. And it's also because our brains are hard-wired to find comfort in habits.
Our basal ganglia in the ancestral or primitive brain are responsible for “wiring” habits. This cluster of nerve cell bodies is involved in functions such as automatic or routine behaviors that we are familiar with or that make us feel good.
But sometimes these habits aren’t helpful to our long-term health or ability to deal with change.
Which is where Yoga comes in…
‘The practice of yoga teaches us to deal with each task in the day as it arises, and then to put it down.’
So says B K S Iyengar in his book Light on Life.
Unlike other unhelpful habits, a yoga practice is a commitment that we make to ourselves, to observe the change in our brains and bodies and adapt to them.
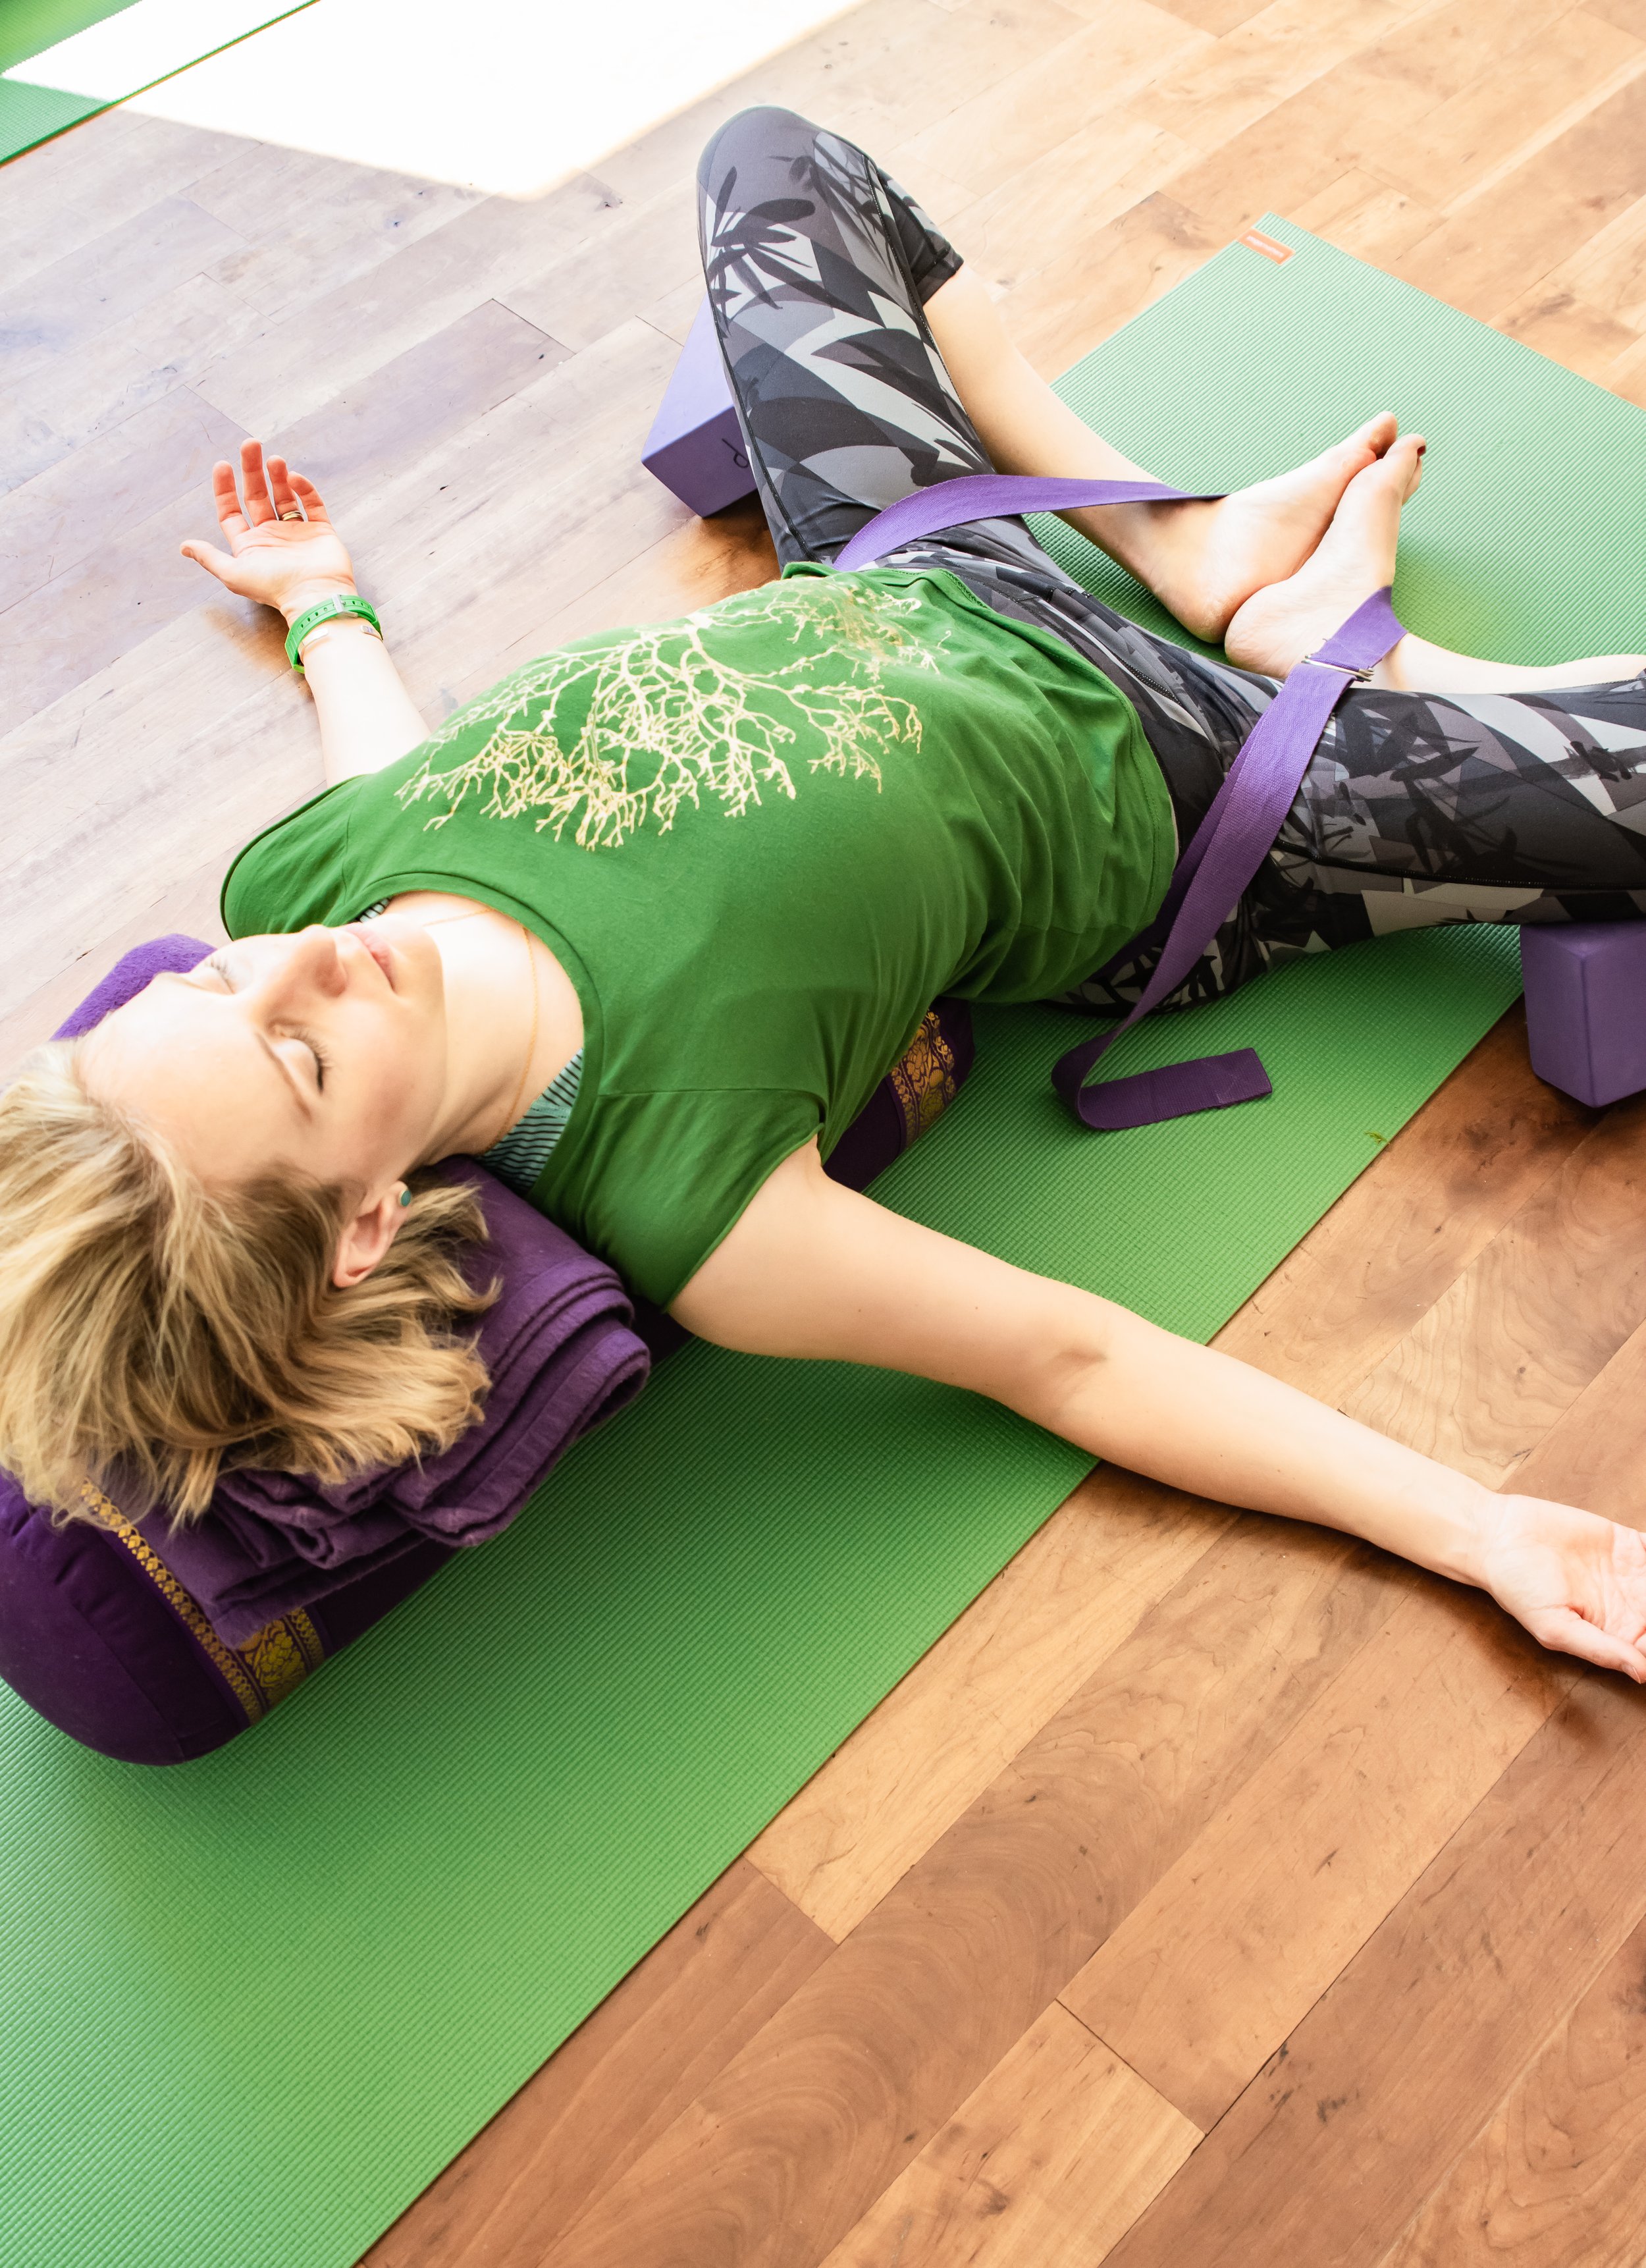
Yoga is a great way to balance out our feelings about life and all it throws at us. For example, Setu Bandha in all its variations enhances emotional stability.
Your yoga practice changes with YOU
If you scroll through Instagram you’d be forgiven for thinking that progress in yoga is a clear graph, with the hours of practice on the bottom, the effort involved on the other side, and then an upward trajectory of yoga practice. This isn’t helped by the ‘before’ and ‘after’ pictures often posted.
Which is not to say you won’t get more flexible over time, but it’s not a straight upward line. There will be setbacks. The body changes. You go through illness, or grief, or hormones shift. Some days your poses will feel like they did when you first started – even if to outside eyes they don’t look like it.
This is because the yoga that happens IS NOT ALL ABOUT WHAT THE POSES LOOK LIKE. Yoga is about our understanding, intelligence and sensitivity to the body increasing over time, and instead of forcing the body into the shape of the pose, we might just go to the point where we feel a gentle stretch.
What are the best poses to practice to adapt to change?
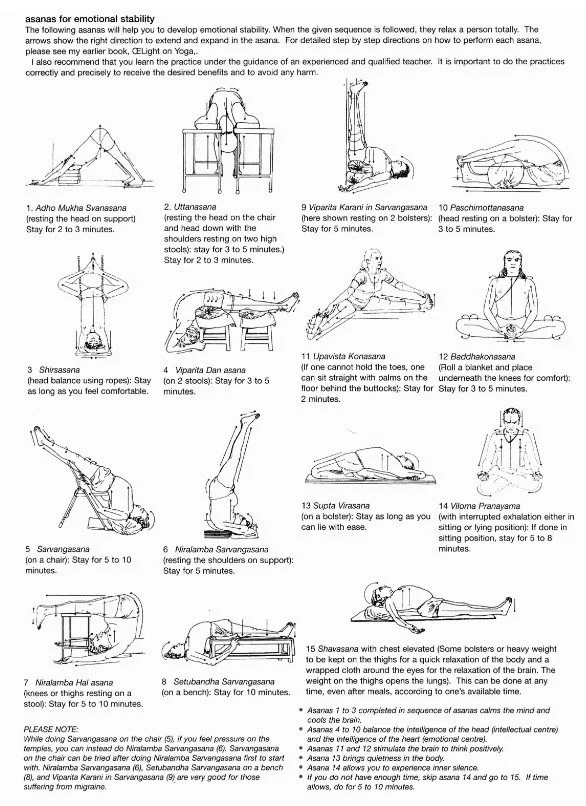
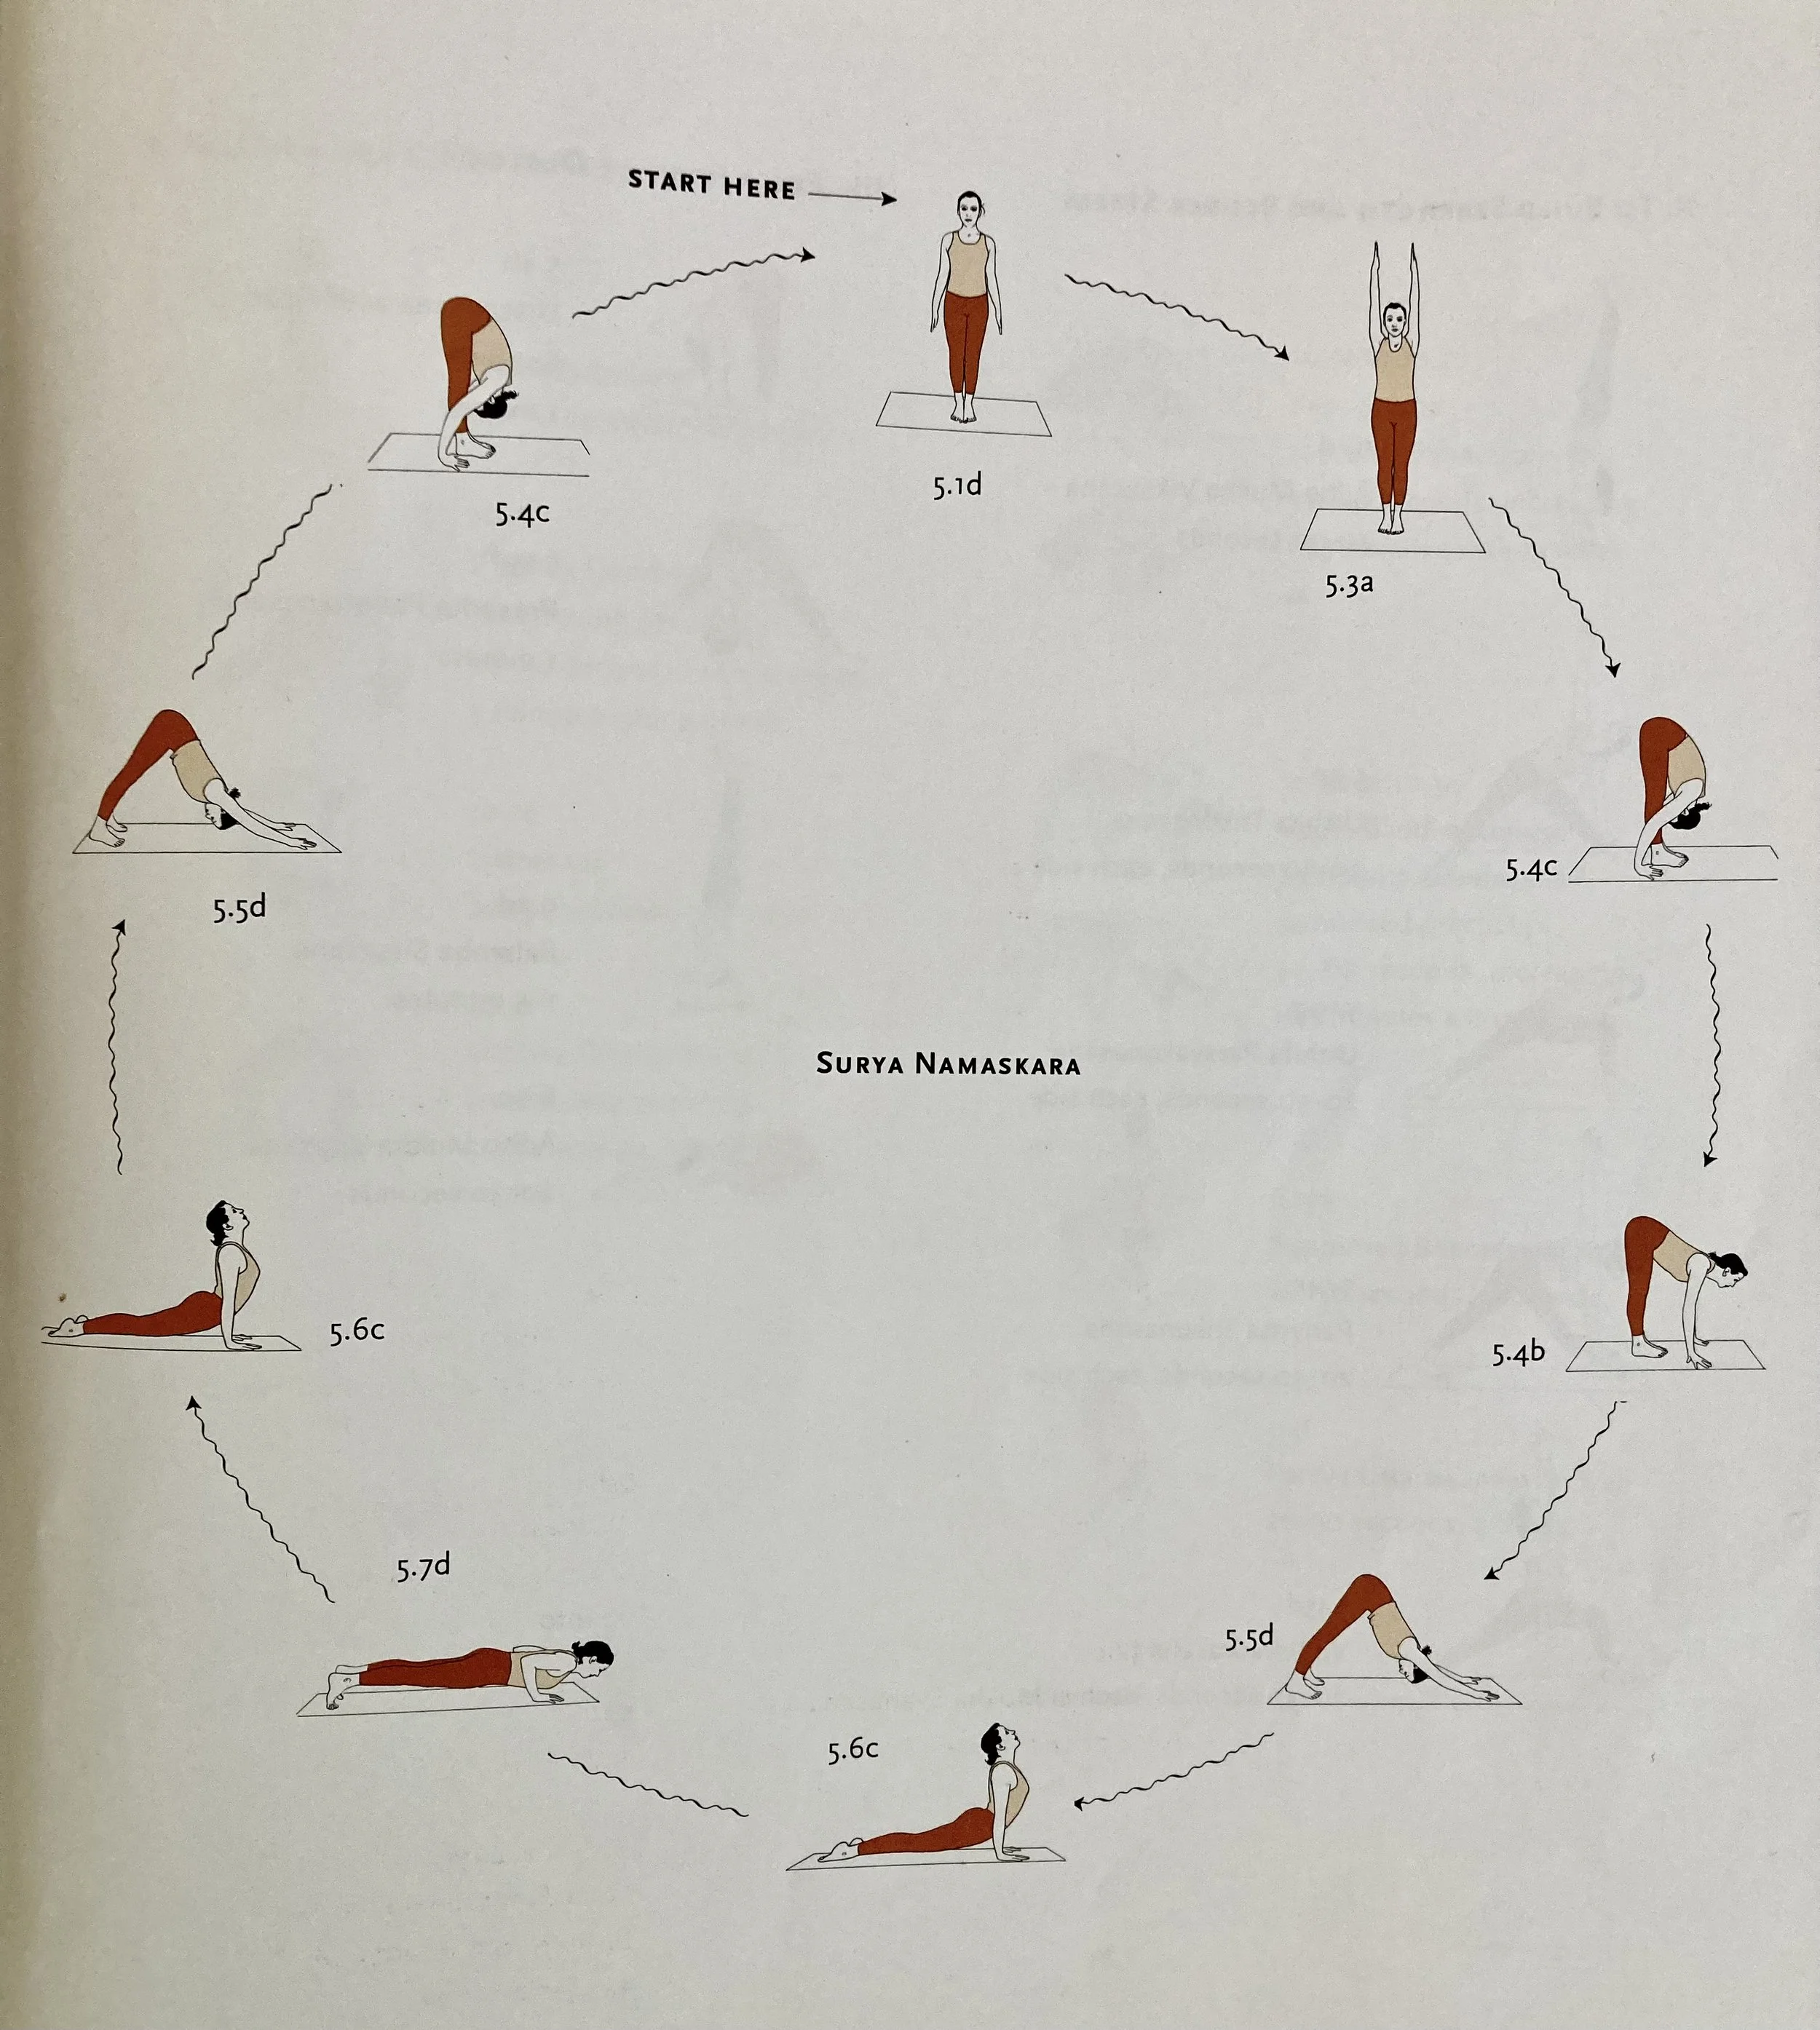
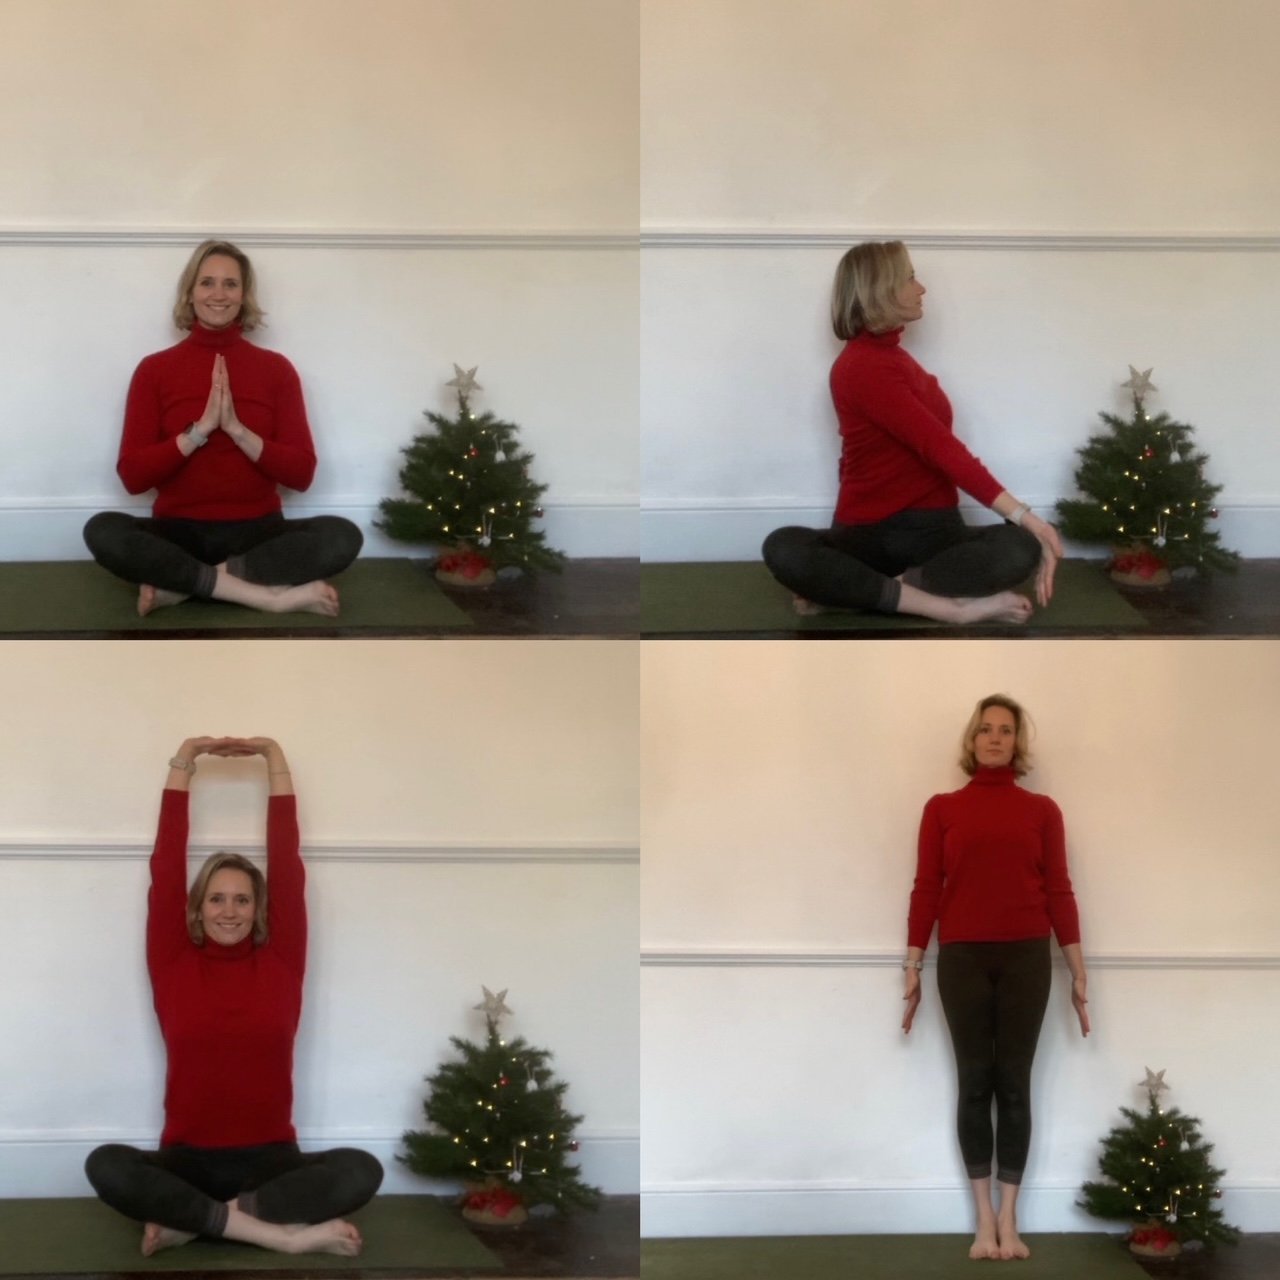
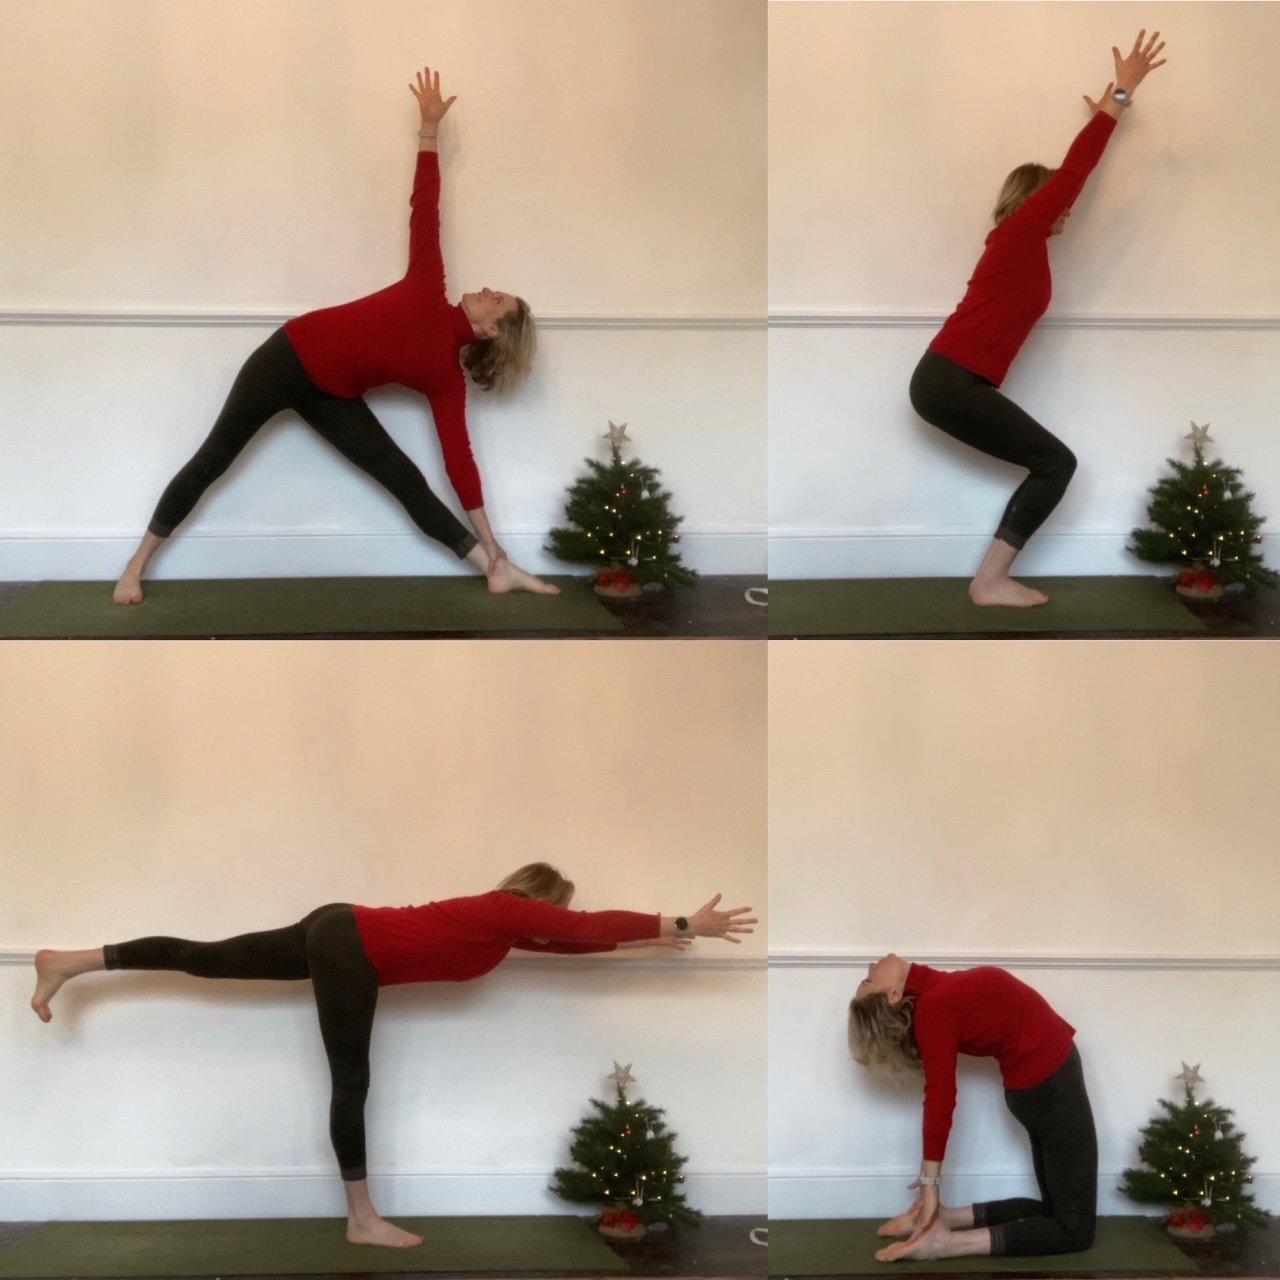
If you have a difficult transition coming up, then there is a sequence for emotional stability that can be extremely helpful. Composed by BKS Iyengar and found at the back of his book Light on Life, it can be adapted or shortened, but here it is in full:

